A fast-loading blog is essential for providing a better user experience, improving search engine rankings, and increasing conversions. One of the biggest reasons websites become slow is unoptimized images. Since images often account for the largest portion of a webpage’s size, optimizing them can dramatically improve loading speed without sacrificing visual quality.
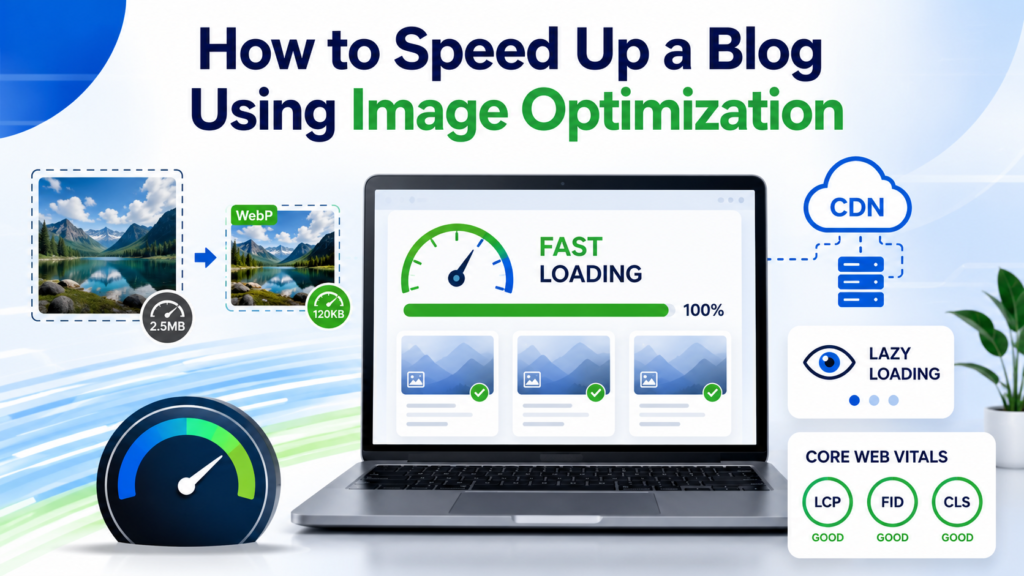
In this guide, you’ll learn how to speed up your blog using image optimization techniques that improve performance, SEO, and Core Web Vitals.
Why Image Optimization Matters for Website Speed
Images enhance the visual appeal of a blog, but they can also slow it down if they are too large or poorly optimized. Large image files consume more bandwidth, increase page load time, and negatively affect user experience.
Benefits of image optimization include:
- Faster page loading speeds
- Improved Google rankings
- Better Core Web Vitals scores
- Lower bounce rates
- Higher user engagement
- Reduced bandwidth usage
- Better mobile performance
Google considers page speed a ranking factor, making image optimization an essential part of any SEO strategy.
Choose the Right Image Format
Using the correct image format can significantly reduce file size while maintaining quality.
JPEG
JPEG is ideal for:
- Blog featured images
- Photographs
- Travel images
- Lifestyle blogs
It offers excellent compression with minimal quality loss.
PNG
PNG works best for:
- Logos
- Transparent images
- Graphics with text
Although PNG files are larger than JPEG, they preserve image quality.
WebP
WebP provides superior compression compared to JPEG and PNG.
Advantages include:
- Smaller file sizes
- Faster loading
- High-quality visuals
- Supported by all modern browsers
Whenever possible, use WebP for your blog images.
AVIF
AVIF is a next-generation image format that offers even better compression than WebP.
Benefits include:
- Extremely small file sizes
- Excellent image quality
- Improved page speed
Many modern websites are gradually adopting AVIF for maximum performance.
Resize Images Before Uploading
Uploading oversized images is one of the most common blogging mistakes.
For example:
- Display size: 800 × 600 pixels
- Uploaded image: 5000 × 3500 pixels
Your visitors only see the smaller version, but browsers still download the full-size image.
Always resize images according to your website layout before uploading.
Recommended sizes:
- Featured images: 1200px wide
- Blog content images: 700–900px wide
- Thumbnails: 300–400px wide
Smaller dimensions lead to faster page loading.
Compress Images Without Losing Quality
Image compression removes unnecessary data while maintaining visual quality.
There are two types of compression:
Lossless Compression
- Maintains original quality
- Slightly larger file size
- Best for graphics and logos
Lossy Compression
- Significantly reduces file size
- Slight quality reduction
- Ideal for blog photos
A compressed image can often be reduced by more than 70% without noticeable quality loss.
Enable Lazy Loading
Lazy loading prevents images from loading until users scroll near them.
Instead of loading every image at once, only visible images are downloaded first.
Benefits include:
- Faster initial page load
- Reduced bandwidth consumption
- Better Largest Contentful Paint (LCP)
- Improved user experience
Most modern CMS platforms support lazy loading by default.
Use Responsive Images
Different devices require different image sizes.
A desktop user doesn’t need the same image dimensions as a smartphone user.
Responsive images automatically deliver the appropriate image size based on the visitor’s screen resolution.
Benefits include:
- Faster mobile performance
- Reduced data usage
- Better user experience
- Improved SEO
Add Descriptive Alt Text
Alt text improves both accessibility and SEO.
Instead of writing:
“image1.jpg”
Use descriptive text such as:
“Compressed WebP image improving blog loading speed.”
Best practices include:
- Describe the image naturally
- Include keywords where relevant
- Avoid keyword stuffing
Search engines use alt text to better understand image content.
Use a Content Delivery Network (CDN)
A CDN stores copies of your images across multiple global servers.
When someone visits your blog, images are delivered from the nearest server.
Benefits include:
- Faster loading worldwide
- Reduced server load
- Improved uptime
- Better user experience
A CDN is especially valuable if your audience comes from multiple countries.
Optimize Image File Names
Many bloggers upload images with generic names like:
- IMG12345.jpg
- Screenshot01.png
Instead, rename them using descriptive keywords.
Examples:
- blog-image-optimization.webp
- website-speed-tips.jpg
- wordpress-image-compression.webp
Keyword-rich filenames help search engines understand your images.
Enable Browser Caching
Browser caching stores images on a visitor’s device.
When they revisit your blog, the browser loads images locally instead of downloading them again.
Advantages include:
- Faster repeat visits
- Reduced server requests
- Improved website speed
Caching is one of the simplest ways to enhance performance.
Remove Unused Images
Many websites accumulate outdated images over time.
Delete:
- Unused media files
- Duplicate images
- Old banners
- Outdated graphics
A clean media library keeps backups smaller and improves website management.
Use Image Optimization Plugins
If you use WordPress, image optimization plugins can automate the process.
Popular features include:
- Automatic compression
- WebP conversion
- Lazy loading
- Bulk optimization
- Image resizing
Automation saves time while keeping your entire media library optimized.
Monitor Website Performance
After optimizing images, measure your website’s speed regularly.
Track metrics such as:
- Page load time
- Largest Contentful Paint (LCP)
- First Contentful Paint (FCP)
- Cumulative Layout Shift (CLS)
- Total image size
Continuous monitoring helps identify new optimization opportunities.
Common Image Optimization Mistakes
Avoid these common errors:
- Uploading oversized images
- Using PNG for photographs
- Ignoring image compression
- Skipping lazy loading
- Missing alt text
- Using generic filenames
- Uploading duplicate images
- Forgetting responsive images
Fixing these mistakes can noticeably improve website speed.
Image Optimization Checklist
Before publishing a blog post, verify that every image:
- Uses the correct file format
- Is resized appropriately
- Is compressed
- Includes descriptive alt text
- Has an SEO-friendly filename
- Supports responsive loading
- Uses lazy loading
- Is cached properly
Following this checklist helps maintain a fast and optimized blog.
Conclusion
Image optimization is one of the most effective ways to speed up a blog while improving SEO and user experience. Choosing modern image formats, resizing images, compressing files, enabling lazy loading, and using responsive images can dramatically reduce page load times. Combined with browser caching and a CDN, these techniques help improve Core Web Vitals, search rankings, and visitor satisfaction.
By making image optimization a regular part of your publishing workflow, you’ll create a faster, more efficient website that performs well for both users and search engines.