Reducing image size without sacrificing quality is essential for faster websites, quicker uploads, better SEO, and saving storage space. Large images slow down page loading, increase bandwidth usage, and can negatively impact user experience and search engine rankings.
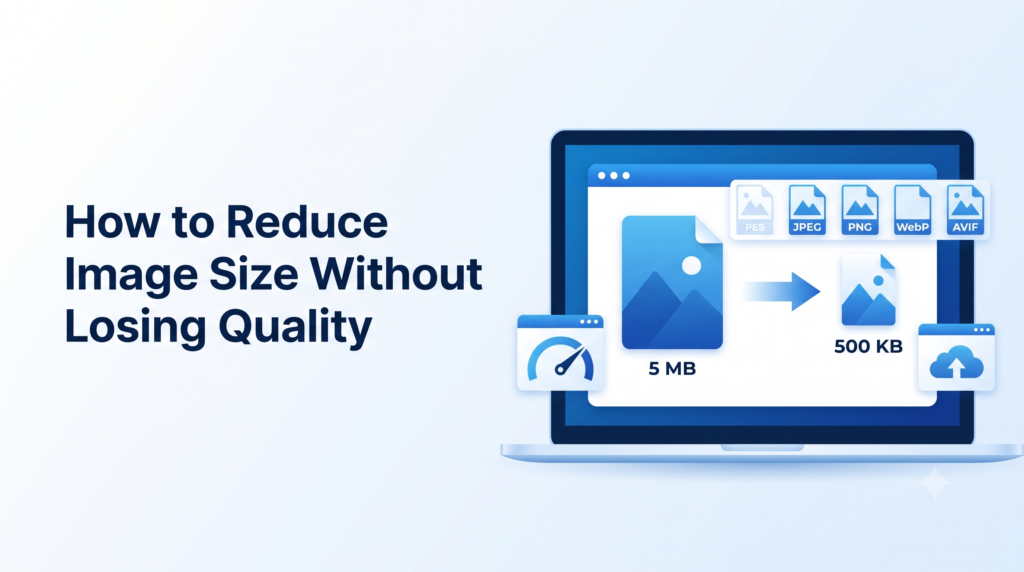
In this guide, you’ll learn the best methods to compress images without noticeable quality loss, understand different image formats, and discover how to optimize images for websites, blogs, eCommerce stores, and social media.
Whether you’re a blogger, web developer, student, photographer, or business owner, this guide will help you reduce image file size while maintaining excellent visual quality.
Why Image Size Matters
Many people upload images directly from cameras or smartphones without optimization. These images often range from 3 MB to 15 MB, even when only a fraction of that size is necessary.
Large image files can cause:
- Slow website loading speed
- Poor user experience
- Higher bandwidth usage
- Lower search engine rankings
- Reduced Core Web Vitals performance
- Increased storage requirements
Optimizing images helps your website load faster while maintaining professional image quality.
What Happens When You Compress an Image?
Image compression reduces the amount of data stored inside an image file.
There are two primary types of compression:
Lossless Compression
Lossless compression removes unnecessary metadata and compresses data without reducing visual quality.
Best for:
- PNG
- Logos
- Graphics
- Screenshots
- Icons
Lossy Compression
Lossy compression removes some image data to create much smaller files. Modern compression algorithms make these changes almost impossible to notice.
Best for:
- JPEG photos
- Blog images
- Product images
- Social media pictures
Best Ways to Reduce Image Size Without Losing Quality
1. Resize Images Before Uploading
Uploading a 6000×4000 image when your website only displays it at 1200×800 wastes bandwidth.
Always resize images to the dimensions actually required.
For example:
- Blog images: 1200px wide
- Thumbnails: 300px
- Hero images: 1600–1920px
Smaller dimensions automatically produce smaller file sizes.
2. Use Image Compression
Compression removes unnecessary information while preserving image quality.
A good compression tool can reduce file size by:
- 30%
- 50%
- 70%
- Sometimes even 90%
while keeping images visually identical.
3. Choose the Correct Image Format
Different image formats serve different purposes.
JPEG
Best for:
- Photographs
- Travel images
- Food blogs
- Product photography
Advantages:
- Small file size
- Excellent compatibility
- Great compression
PNG
Best for:
- Logos
- Transparent images
- Graphics
- UI elements
Advantages:
- Transparency support
- High quality
- Sharp edges
WebP
WebP is one of the best image formats available today.
Advantages:
- Much smaller files
- Excellent quality
- Faster website loading
- Supported by modern browsers
Many websites have switched from JPEG and PNG to WebP because of its superior compression.
AVIF
AVIF provides even better compression than WebP while maintaining exceptional image quality.
It’s becoming increasingly popular for high-performance websites.
4. Remove Unnecessary Metadata
Images often contain hidden information such as:
- Camera model
- GPS location
- ISO settings
- Date taken
- Device information
Removing this metadata can reduce file size without affecting image appearance.
5. Compress Images Online
Using an online image compression tool is one of the easiest methods.
With filerenameonline.com, you can compress images quickly without installing any software. The tool is easy to use and helps reduce file sizes while preserving image clarity, making it suitable for websites, blogs, online stores, email attachments, and social media uploads.
Best Practices for Website Image Optimization
To maximize website performance, follow these optimization practices:
Use Responsive Images
Serve different image sizes for desktop, tablet, and mobile devices.
This prevents unnecessary downloads on smaller screens.
Enable Lazy Loading
Lazy loading delays image loading until visitors scroll near them.
Benefits include:
- Faster initial page load
- Better user experience
- Improved Core Web Vitals
- Reduced bandwidth usage
Use Modern Formats
Whenever possible, use:
- WebP
- AVIF
These formats provide better compression than traditional JPEG and PNG images.
Optimize Every Image
Don’t optimize only large images.
Compress:
- Featured images
- Logos
- Banners
- Background images
- Product photos
- Blog images
- Thumbnails
Every optimized image contributes to faster loading.
Common Mistakes to Avoid
Compressing Multiple Times
Repeated compression gradually reduces image quality.
Always keep the original image as a backup.
Choosing the Wrong Format
Using PNG for photographs often creates unnecessarily large files.
Similarly, JPEG is not ideal for graphics requiring transparency.
Choose the format based on the image type.
Uploading Original Camera Photos
High-resolution camera images are much larger than required for websites.
Resize them before uploading.
Ignoring Mobile Users
More than half of internet traffic comes from mobile devices.
Optimized images improve loading speed and user experience on smartphones.
Benefits of Reducing Image Size
Optimized images offer several advantages:
- Faster website speed
- Better Google rankings
- Improved Core Web Vitals
- Lower hosting costs
- Better user experience
- Reduced bandwidth usage
- Faster email attachments
- Quicker uploads
- Increased conversions
- Better mobile performance
How to Reduce Image Size Without Losing Quality Using filerenameonline.com
Follow these simple steps:
- Visit filerenameonline.com.
- Upload your image.
- Select the desired compression level.
- Allow the tool to optimize the image.
- Download the compressed version.
The optimized image maintains excellent visual quality while taking up significantly less storage space.
Frequently Asked Questions
Can I reduce image size without losing quality?
Yes. By using lossless compression, removing unnecessary metadata, resizing images appropriately, and selecting the correct image format, you can significantly reduce file size while preserving visual quality.
Which image format has the smallest size?
WebP and AVIF generally produce the smallest file sizes while maintaining high image quality.
Does image compression improve SEO?
Yes. Smaller images improve page speed, enhance Core Web Vitals, reduce bounce rates, and contribute to better search engine optimization.
Is JPEG better than PNG?
JPEG is better for photographs because it offers efficient compression. PNG is preferable for logos, graphics, screenshots, and images that require transparency.
How much can image size be reduced?
Depending on the image and compression method, file sizes can often be reduced by 30% to 90% while maintaining good visual quality.
Final Thoughts
Reducing image size without losing quality is one of the easiest ways to improve website performance, user experience, and SEO. By choosing the right image format, resizing images before uploading, removing unnecessary metadata, and using efficient compression techniques, you can achieve faster loading times without compromising appearance.
If you’re looking for a quick and user-friendly solution, filerenameonline.com makes it easy to compress images while preserving quality. Optimizing every image before publishing can lead to faster pages, happier visitors, and stronger search engine visibility over time.